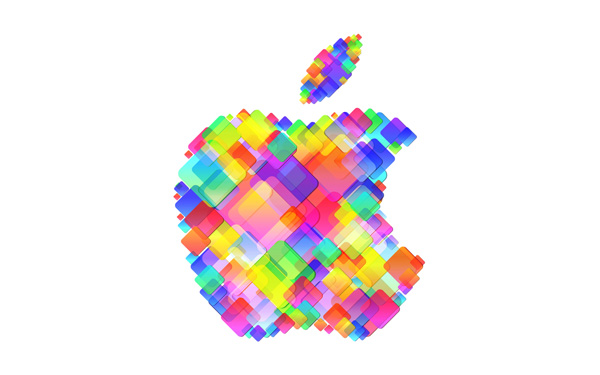
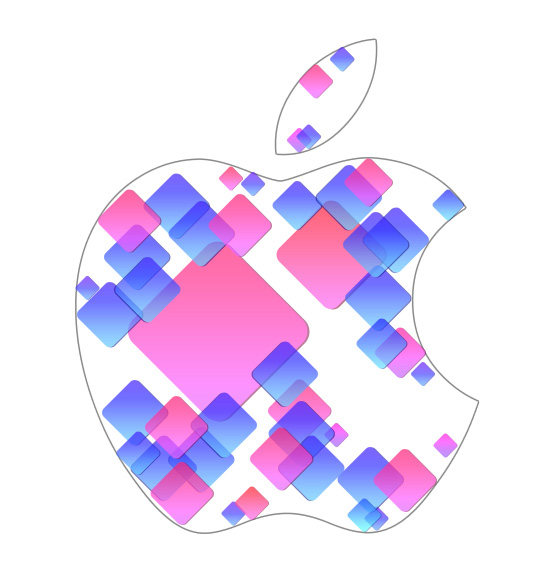
Today, I’m going to show you how use shapes and Layer styles in Photoshop CS5 to design a cool Apple WWDC logo. You will learn an idea to make a nice logo by following this and you will find not many technical skills will be involved. Layered PSD file included. Let’s get started!
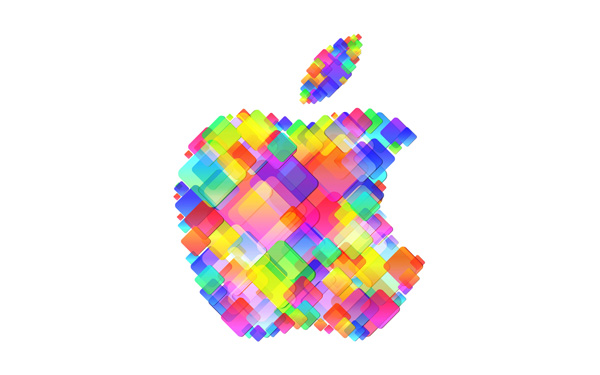
Final Image Preview
Start working by creating a new document (
Ctrl+N) in
Adobe Photoshop CS5 with the size
1920px by
1200px(
RGB color mode) at a resolution of
72 pixels/inch. Use the
Paint Bucket Tool (G) to fill with
#120807 color the
new background layer.
Find an Apple logo in
.PNG format and place it on the main document, I used this
file. If necessary, we may enlarge it, applying the
Free Transform (Ctrl+T) command.
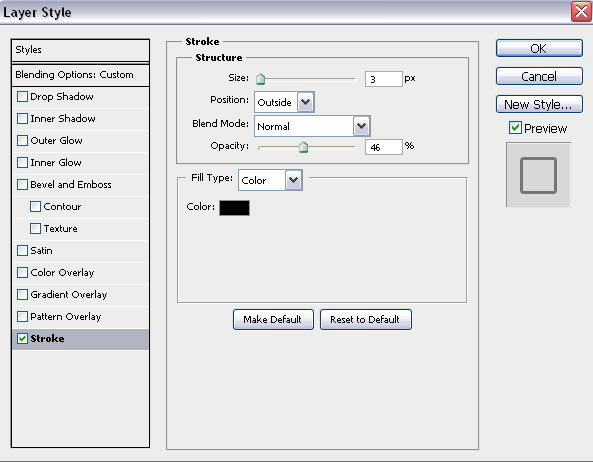
Set Fill to 0% for this layer and click on Add a layer style icon from bottom part of the Layers panel to selectStroke. Apply the next settings:
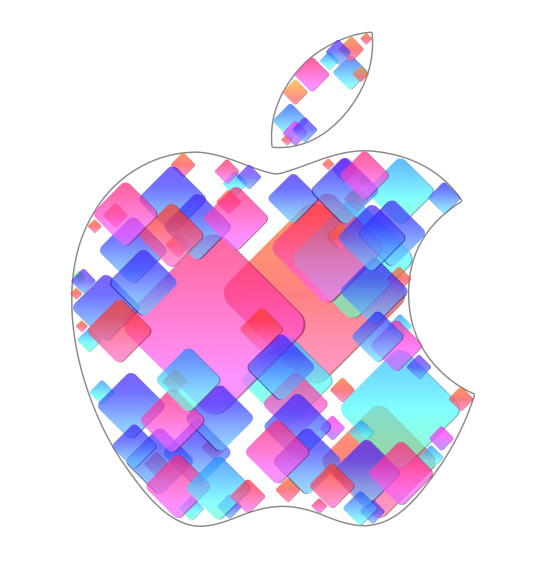
We’ve got the next result:
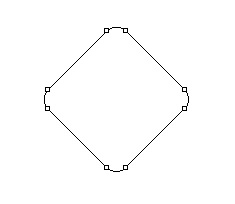
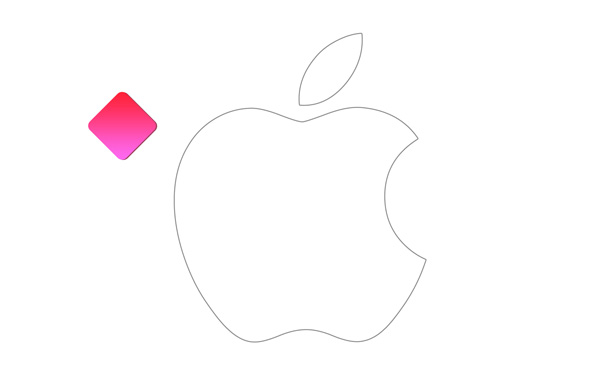
We’ve got the logo’s contour. Now we’ll add on it the next square. In this case choose the Rounded Rectangle Tool (U), set Radius to 15px in Options bar, hold Shift button and draw the next square as shown. Select after that the Free Transform (Ctrl+T) command and turn around the square on 45 degrees.
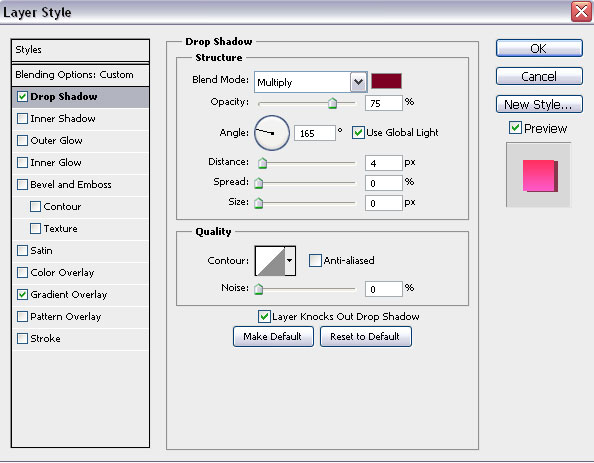
Set Fill to 0% for this layer and click on Add a layer style icon from bottom part of the Layers panel to selectDrop Shadow.
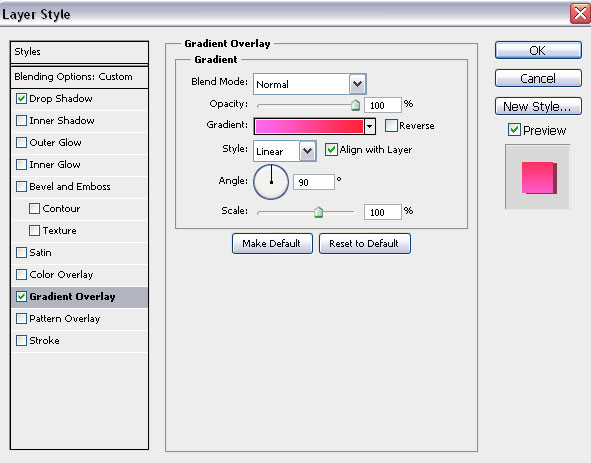
Apply
Gradient Overlay:
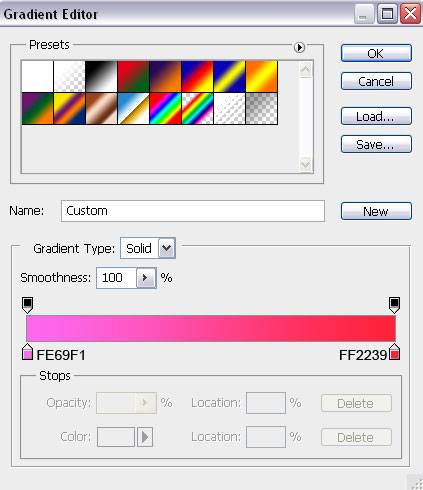
Click in the color bar to open the Gradient Editor and set the color stops as shown. Click OK to close theGradient Editor dialog box.
Set the
Blending mode for this layer to
Hard Light.
We’ve got the next result:
We have to rasterize the new layer by creating a new one above the layer containing our square, select both layers in Layers panel and press then CTRL+E to Merge Down. Using the Move Tool (V), we may situate the square inside the logo’s contour. When use Move Tool (V) hold Alt button and click on the square to make some copies. Change the copies’ sizes applying the Free Transform (Ctrl+T) command.
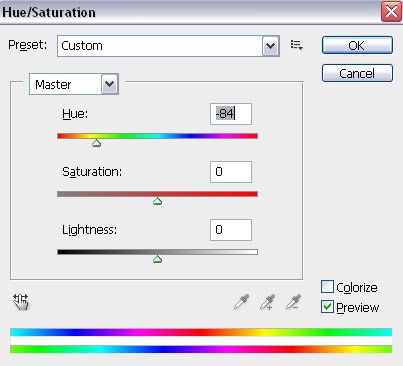
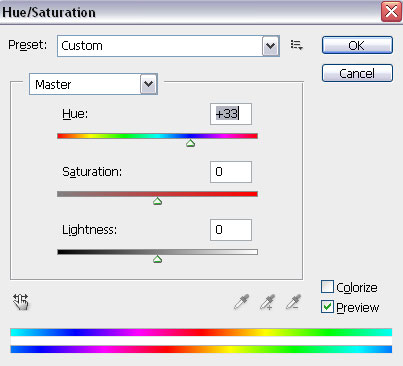
On the copies’ layers we’ll apply a different Fill values. Change also the square’s color. In this case make a copy of the square (choose the Move Tool (V) hold Alt button to displace the copy). Then press CTRL+U, in the dialog box of Hue/Saturation, drag the slider to the left to decrease the Hue of the color range.
Make some copies of the square and place the copies as shown:
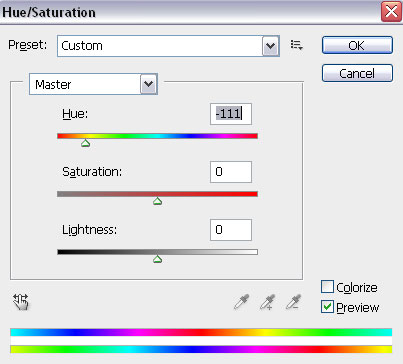
Continue representing the squares. Change the color again using Hue/Saturation command and multiply the copies the way described before.
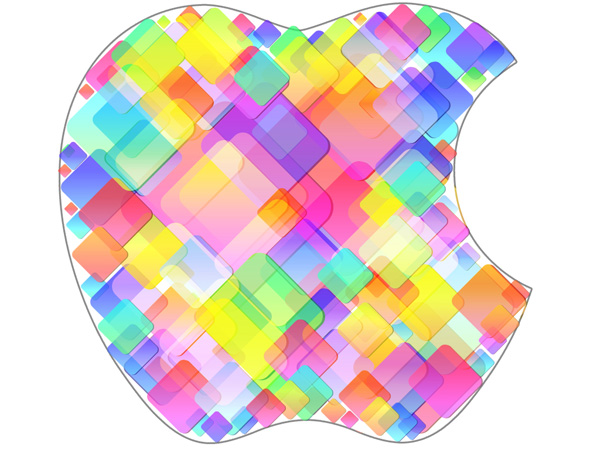
We’ve got the next result:
The layers containing the square we should place one by one. Then we should make again a copy of the very first layer (choose the Move Tool (V), hold Alt button to displace the copy). Change the color of the square usingCTRL+U (Hue/Saturation) command.
Multiply the copies the way described before.
On the central part of the logo, we’ll insert many other multicolored squares of a bigger size. Apply differentOpacity value on the layers and choose also different Blending mode like Overlay, Hard Light, Soft Light. Change the squares’ sizes, using the Free Transform (Ctrl+T) command.
Remove now the layer containing the logo’s contours.
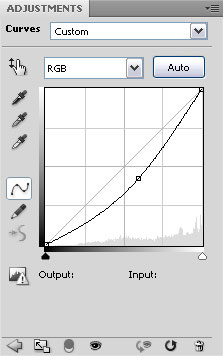
Click Create new fill or adjustment layer from bottom part of the Layers panel and click to Curves to adjust the curve shape as shown to make a little color corrections.
We’ve got the next result:
We’re done!